Manual Installation of Snippets
Note: Before proceeding with the manual installation of our Snippet, it’s essential to take a backup of your current theme.
This process requires Snippets insertion in the following pages:
1. Products Collection & Product Details Page
1. Products Collection & Product Details Page:
Enabling discounted pricing from Discount Depot on collection as well as product details page is a simple process. However, identifying the correct template files for the product grid or product detail might take some time due to variations in theme architecture. This step ensures that your store effectively showcases the discounted pricing on both of these pages.
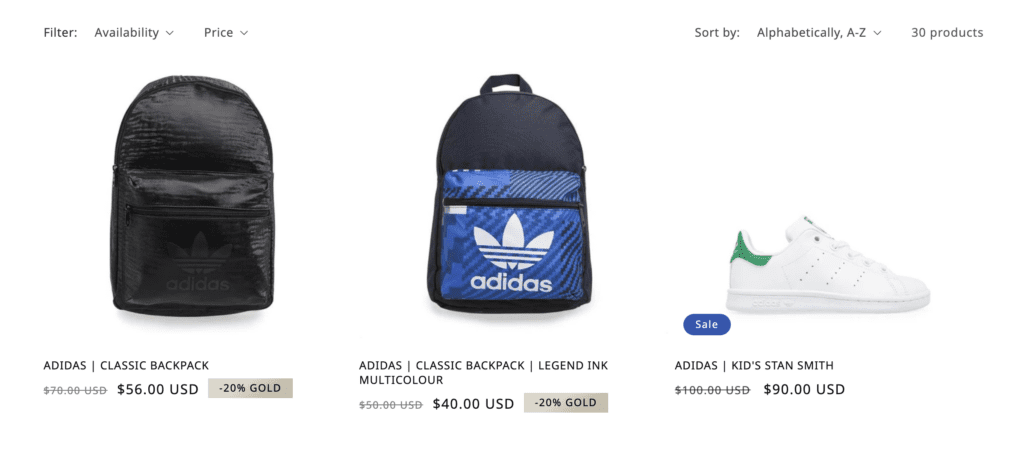
Product Collection Grid Preview:
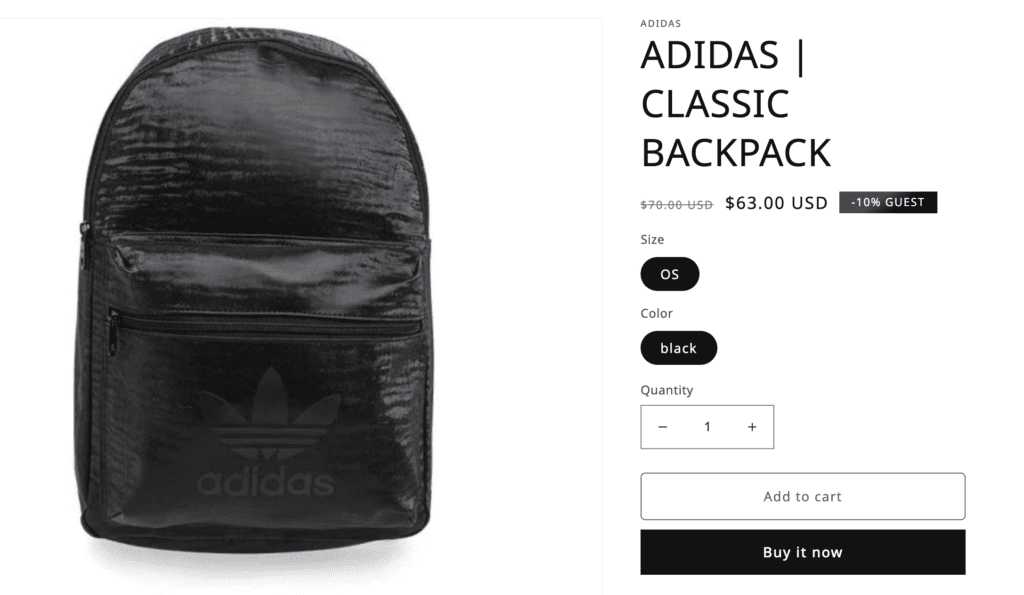
Product Details Page Preview:
Implementation Steps:
Step 1: Identify the Templates that displays the Product Card with its price:
- Open your theme editor
- Next, find the template used to display a product in a collection and the template used to display product details on product page in the Templates, Sections or Snippets folder. You’re looking for the file that contains the markup that displays a card of the product with its price.
- The filename is different on each theme. Some themes use “product-card.liquid“, others use “price.liquid“, “product-price.liquid“, “product-template.liquid“, “product-grid.liquid“, “product-listing.liquid” or “product-block.liquid“, but there are many other possibilities.
- Find the markup of Product Price, Usually it would be {{ product.price | money }} or {{ money_price }}
Note: If you are using different product templates for different products, Then you need to make sure you implement the snippets in all of those templates
Step 2: Add required classes and code to the Product Price Wrapper:
- Once you have identified the product price markup, it is time to incorporate the necessary code into its HTML wrapper.
- Add/Update the HTML wrapper which could be span, div, etc. as in the following example:
<span class="axt-cp-custom {{ product.selected_or_first_available_variant.id }} {{ product.id }}"
      id="{{ product.id }}"
      axt-cp-variant-id="{{ product.selected_or_first_available_variant.id }}">
{{ product.price | money }} or {{ money_price }}
</span>
Sample screenshot:

You can also contact us at support@discountdepot.axtrics.com for free installation assistance. We’re here to help you make sure the snippets are installed correctly and functioning as expected.